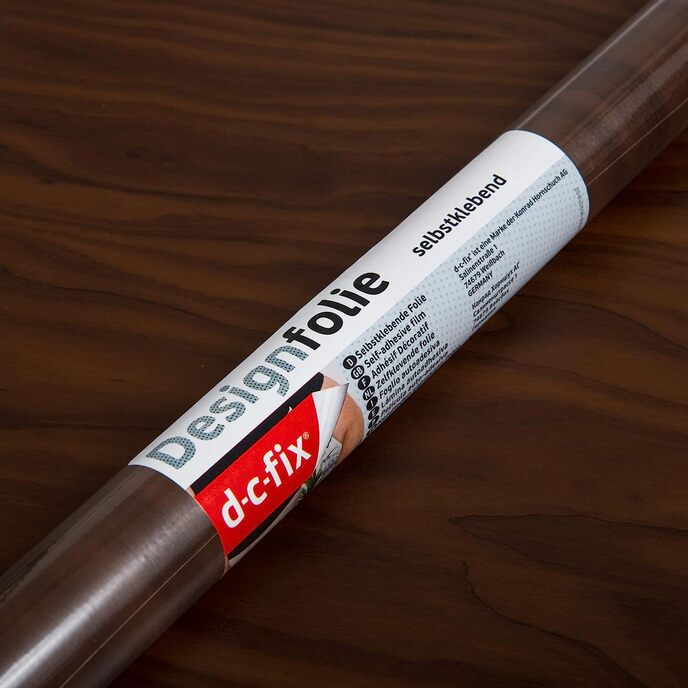
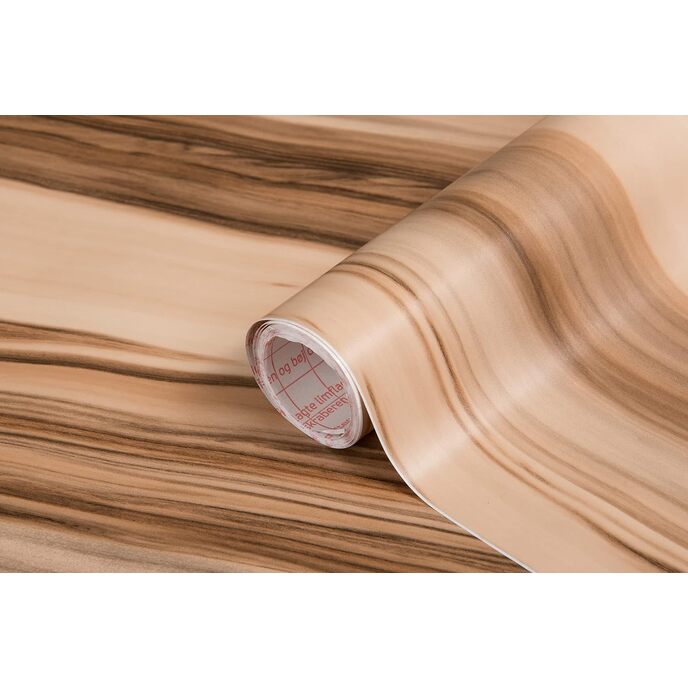
I had a really hard time finding a color match for our cabinets, and pattern match. This beech was about the closest I could get. You can see in the two photos that the Aristokraft cabinet was is a bit more oraney or gold than the DC Fix Beech color. But, it is truly close enough. Posting two pictures here from the same bathroom cabinet. This was the worst damage of all the cabinets we had. Mostly from leaky bottles. The cabinet is made from formed sheets of particle board, and then they have a very thin piece of paper-backed film on them which does not seem to tolerate being wet for more than a short while. When the base of the cabinet go wet, it not only stained the paper; it also caused some unevenness of the surface. I ended up peeling all of the paper off that I could, and then tried to sand it down, but some of the particle board started to crumble. So, I went ahead and covered it with the DC Fix paper, using a template I made of taped-together paper, and a razor blade. I cut the corners, but left the back with a little lip. It doesn't look great in the back, but it looks better than the uneven stained bottom of the cabinet. I don't know how the pictures will look, but there is some noticeable uneven spots, especially on the far lefts side of the photo. That's not the fault of the DC Fix film, but rather of the cabinet underneath. The other photo is of a drawer that also needed some stain covering. The drawer was easier to lay in than the cabinet base because of the size. I did every cabinet we have because we are moving. It took me about 1-1/2 hours per cabinet base -- maybe 2 hours. But the results are better than before. The adhesion is good, but not outstanding in spots where the cabinet may have been exposed to some sort of soap or baby oil. So, I think I may have to get some spray glue and try that underneath. [EDIT: I tried the spray glue adhesive — no don’t do it, totally melted the plastic! Near disaster. Do not use aerosolized spray glue unless you test it on a spare piece. Disintegrated in a minute.] The hardest part of trying to fit these in the spaces was the corners. It was hard to cut it perfectly. Again, not a fault of the film necessarily. The cabinets and drawers had some variation in their shape, and I cut it so there was excess, and then I trimmed the excess after burnishing it down (back of the curved tip of a vegetable peeler worked well. After installing in this cabinet, there were some waves that wouldn't go down. All of the DC Fix film had bubble, and I mostly tried to get the air out toward the edge, but for many, it was easier to air it out with a small razor blade hole. I peeled and reset the paper many times trying to get it right, but it was harder than I thought it might be. the remaining waves were subtle, and they did somehow sort themselves overnight. I think they all look terrific now in comparison to what came before. The adhesion in the soiled corner is not good -- will require some extra adhesive, I think. I may get another roll of this same sheet to cover it with a 2nd layer, to try and disguise the imperfections. I like the pattern, and the material. It seems like the plastic would be less permeable than the paper that was originally in the cabinet. If you are using this, make sure you clean out every bit of grit and speck of salt or sugar crystals. The imperfections are amplified in the final installation, and you don't want to have to undo your sticky DC Fix all over again after you just got it in there perfectly. I really do like this product. I wish I didn't have to use it -- or rather, I wish I had ordered it years ago before the cabinets got messed up. [EDIT: It took us a year to move. And would definitely say that you need an extra coating of clear protective film on top of this if it is going to get wet under the sink with bottles or inna cabinet with oils. It is some kind of thin plastic but somehow not waterproof.] (The review is asking about "sheerness" -- not sure what they mean. Like see-through? It is opaque and meant to be opaque.)